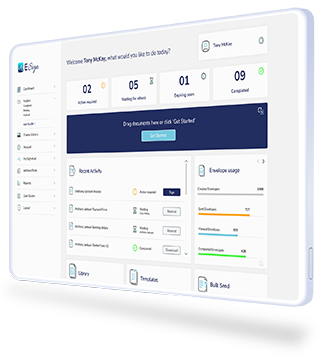
Integrate eSign's API eSignature software into your website and existing applications for a seamless digital experience for both you and your customers.


4.6 / 5
4.7 / 5
API connects your business processes.

Greater flexibility and convenience with automation.
Effortlessly integrate our secure API into your software to streamline digital document workflows, automate agreements, and boost operational efficiency.
Our API is tailored to your business requirements, making it an ideal solution for driving growth and optimizing productivity.

Compliant with all major eSignature laws.
Choosing eSign’s API service guarantees the security and compliance of your API.
Our platform and advanced electronic signatures comply with global eSignature laws, utilizing an encrypted client library for end-to-end protection of your document contents and sensitive data.

Easy to use eSign.
We aim to simplify the API integration process. To assist with integration, we’ve created the Developer Hub for eSign customers.
Here, you’ll find important links to documentation and reference codes and guides, along with our latest SDKs and Tools.

Create bespoke workflows to suit your business with a range of application integrations.
“Using eSign has made our tenancy completion processes so simple. You don’t have to be technically savvy to be able to use the platform and it doesn’t draw on any other ICT resources. Our tenancy agreements and documents are signed within minutes and we’ve even had tenants’ comment on how easy it is to use as a signer which is fantastic.”
“We are very proud and thrilled to be working with the E-Sign team, creating a truly digital and revolutionising management tool for controlled drugs in a post-pandemic world. The benefits to the clinical and pharmacy teams are huge and drives greater legislative and regulatory confidence and safer and efficient patient care.”
“The University of Oxford have appointed E-Sign UK Ltd. as their preferred electronic signature platform. E-Sign quickly guided departments on the most cost-effective and efficient route offered, providing continued support to ensure contracts were completed and deadlines met.”
“The law supports the use of electronic signatures, and E-Sign is an essential tool for any business wishing to enhance customer experience and accelerate revenue. E-Sign is incredibly user-friendly, and using it has been a very positive experience both for me and for my clients.”
“E-Sign has transformed our operations at Beyondly. Integrating E-Sign into our systems was relatively straight forward and has massively improved customer and team experience. As a Bcorp organisation we place high value on our environmental impact and since inception, E-Sign has represented a 31.46kg saving of CO2 entering the atmosphere.”
“The tools are very easy to set up and intuitive to use. When we encountered issues, the E-Sign team was agile enough to respond, usually on the same day. The copy template feature has made setup with new customers much easier.”
“E-Sign is an invaluable tool that assists us in keeping track of our legal matters. It gives us full control of the document journey and has greatly improved signature capture and document turnaround times.”
“Working in the regulated financial and medical markets we need a quick secure and economical signature process. E-sign gives us all of these.”
“Can’t recommend E-Sign enough. It is quicker, easier and cheaper to use than many of their competitors. The detailed Document History provides useful evidence and proof of when your document was created and signed. Their team members are extremely knowledgeable of the systems, friendly and professional. All in all, an amazing product at a very competitive price.”
“One thing which sets E-Sign apart is their flexible signature packages, allowing flexibility in both pricing and usage to provide the best solution for the organisation. The GPA has been very well looked after by our E-Sign account manager and we look forward to continuing our relationship with them.”
“The solution was simple to use, has a great management portal, and the price met our expectations. We now use the product for our own internal use and have recommended and deployed it into our customers when we get requests for signature solutions. E-Sign’s ongoing support is excellent, and they are continuously improving and developing their solution.”
“E-Sign has brought both time and efficiency benefits to our department since we started using the platform two years ago. It is easy to use and they have useful training videos available which have been helpful for training our team on how to use the platform and its features.”

“Using eSign has significantly increased the time it takes to send and receive contracts which means we close deals quicker. I especially like how you can redirect and edit documents without creating new envelopes and that I can keep track of which contracts are still pending signature as an admin. As an environmentally friendly business, it’s also helpful to see how much carbon we are saving with the carbon counter. I would definitely recommend eSign to a business who is looking to close deals faster.”

Utilize an API to enable advanced automation into your workflows, ensuring a smoother and more efficient digital experience.

Effortlessly merge multiple applications into a unified software platform using an API.

By integrating your applications, provide your customers with a cohesive and user-friendly website experience.

Integrate an API to eliminate barriers between your customers and business, promoting increased traffic through flexible and convenient functionality.

Rest assured that all your data and communications are secure and compliant with the eSign platform.

Use eSign's API to establish an integrated process within existing or new applications, innovating your current workflows.
Explore eSignature solutions and their applications across your industry.
eSign provides comprehensive digital document solutions for healthcare organizations, enhancing process efficiency, simplifying transactions, and offering cost-effective services.
Learn More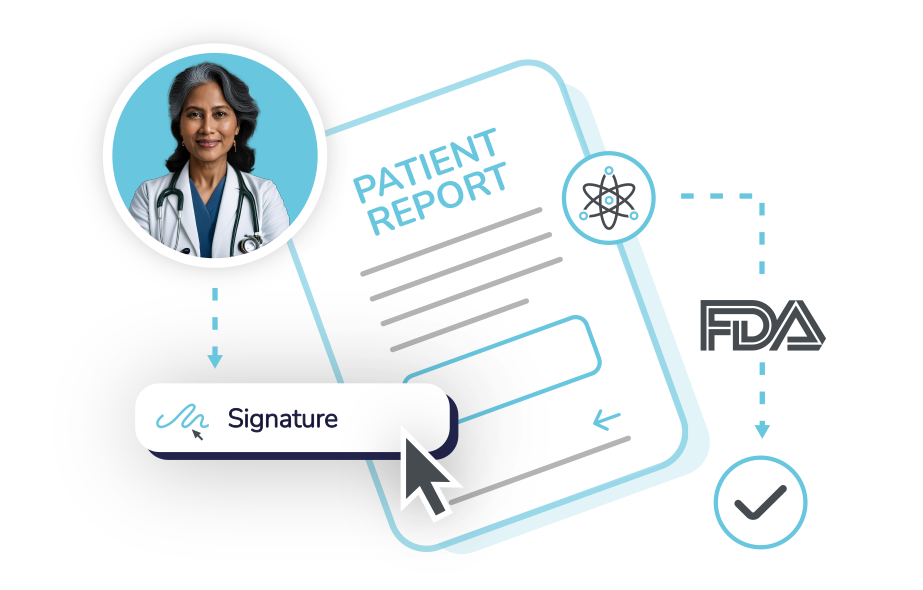
Digital solutions for accounting and taxation, including e-signatures for financial documents, bookkeeping services, and seamless integrations with top software platforms.
Learn More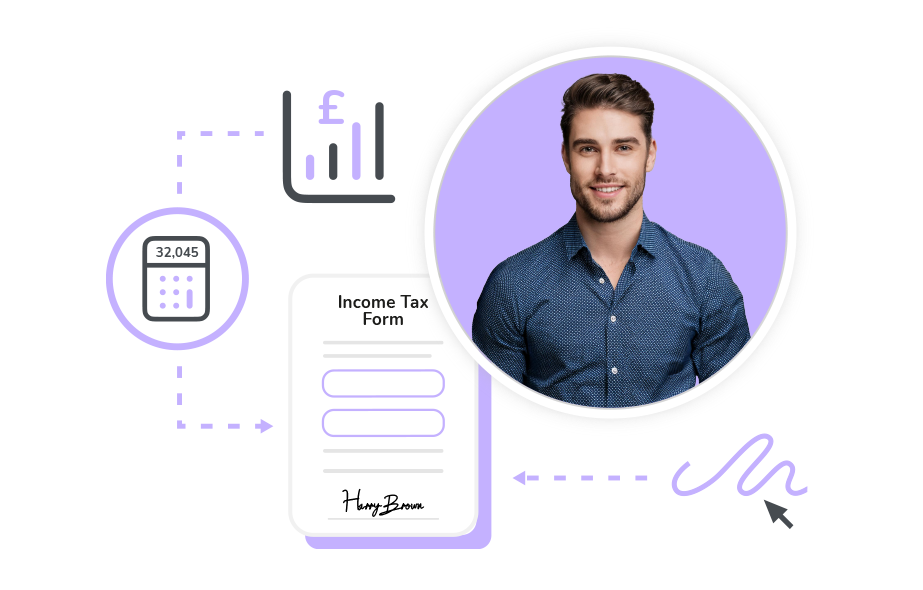
Enhance document processing speed, improve compliance, and optimize contract reviews with a digital document management solution.
Learn More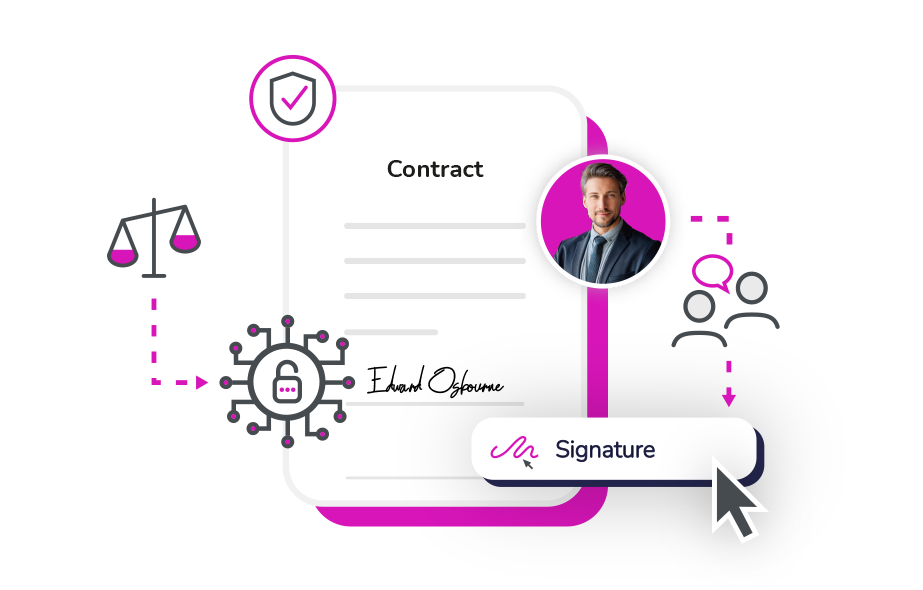
eSign provides digital solutions for educational institutions, covering everything from student enrollment and financial aid paperwork to HR documents and beyond.
Learn More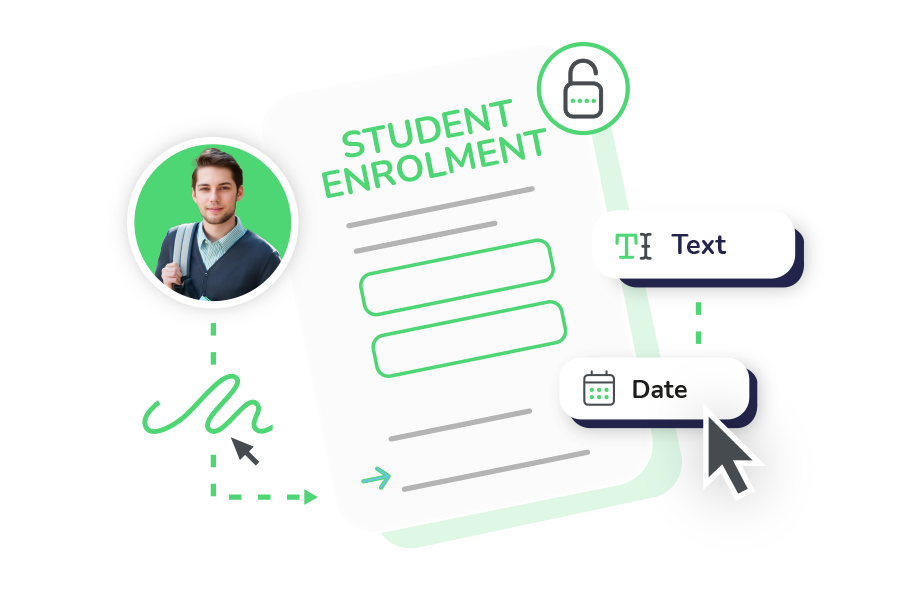
Digitize essential financial agreements and workflows, accelerate business operations, and eliminate slow manual processes with electronic signatures.
Learn More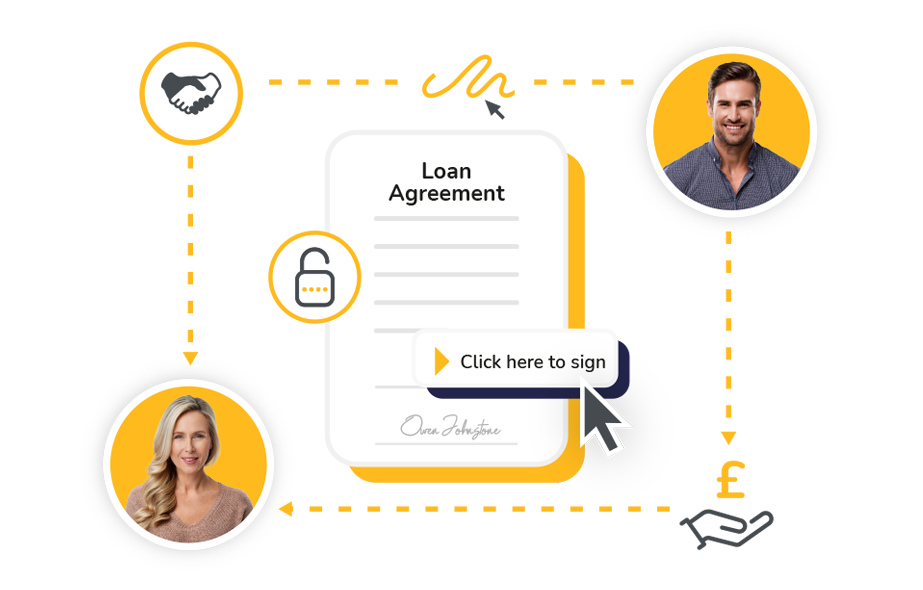
eSign offers digital solutions for both organizations and individuals, serving a wide range of industries.
Learn More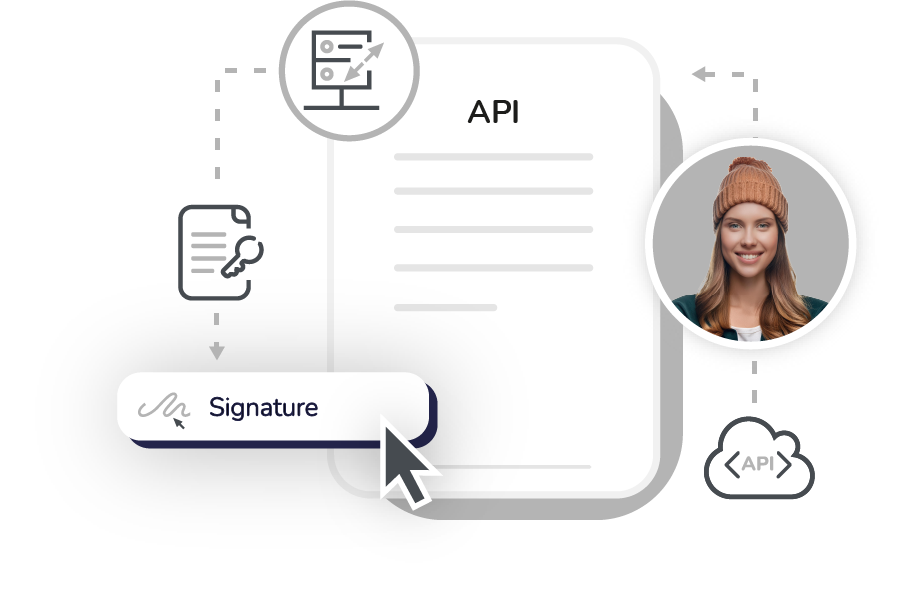

Leverage eSign’s iFrame functionality to generate envelopes within your system.
LEARN MOREGenerate and sign an envelope effortlessly with a single click using the API.
LEARN MORE
Retrieve account data seamlessly using eSign’s OAuth functionality.
LEARN MORE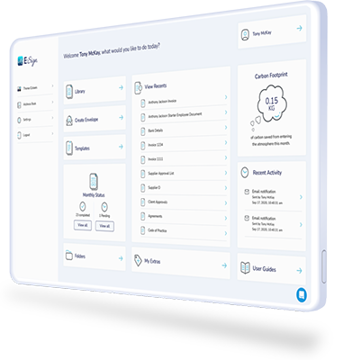

The healthcare industry clearly recognised the need to adopt a digital approach to prescription processing, giving operational advantages, regulatory compliance and improvements to patient safety.
LEARN MORE
There has been significant time and cost savings on the sign-up process for new tenants as there is no longer a requirement for officers or tenants to travel to meet in a location to sign the agreement.
LEARN MORE
We have seen significant improvements in our pharmacy service efficiency since implementing eSign. The platform is user-friendly and has allowed our team to securely provide prescriptions for patient medication.
LEARN MOREeSign templates can save you time and resources by avoiding the need to continually create new documents for every use. You can use our pre-built templates or upload your own to the platform and seamlessly integrate them into your processes.


An Application Programming Interface (API) serves as a software bridge that enables different applications to interact with one another. By using an API, you can seamlessly and securely link your business operations, services, content, and data with channel partners, internal teams, and independent developers.
The E-Sign API allows developers to easily embed E-Sign’s electronic signature capabilities into their own applications. With this API, developers can efficiently create, send, and manage documents that require electronic signatures. Additionally, it enables tracking the signing status of documents and provides tools for managing account settings and user profiles.
The E-Sign API provides an excellent solution for simplifying the management of signed agreements. Developers can easily integrate their systems with the E-Sign API, offering a reliable and intuitive way to upload documents, initiate signing requests, send reminders, and collect electronic signatures.
Example:
curl -X GET “https://sandbox.e-sign.co.uk/v3/accounts” -H “accept: application/json” -H “Authorization: Token API_KEY”
E-Sign follows standard HTTP response codes to communicate the outcome of an API request. Generally:
| Code | Explanation |
|---|---|
| 200 – OK | Everything worked as expected. |
| 201 – Created | The request succeeded, and a new resource was created as a result. |
| 204 – No Content | The server has successfully fulfilled the request and that there is no additional content to send in the response payload body. |
| 400 – Bad Access | The request was unacceptable, often due to missing a required parameter. |
| 401 – Unauthorized | No valid API key provided. |
| 402 – Request Failed | The parameters were valid but the request failed. |
| 403 – Forbidden | The API key doesn’t have permissions to perform the request. |
| 404 – Not Found | The server can not find the requested resource – the endpoint is valid but the resource itself does not exist. |
| 409 – Conflict | The request conflicts with another request (perhaps due to using the same idempotent key). |
| 410 – Gone | This response is sent when the requested content has been permanently deleted from the server, with no forwarding address. |
| 422 – Unprocessable Entity | The request was well-formed but was unable to be followed due to semantic errors. |
| 429 – Too Many Requests | Too many requests hit the API too quickly. We recommend an exponential backoff of your requests. |
| 500, 502, 503, 504 – Server Errors | Something went wrong on E-Sign’s end. These responses are very uncommon. |
Our API lets you customize and extend the functionality of your apps to meet your unique business needs. Create efficiencies with our API, guided by our comprehensive developer documentation guides and code samples.
To access our API, the first step is to request an API token. Once you have the access token, you can test access to our API through our API Reference. The API Reference makes interacting with our API easy and intuitive.
Learn more about our API and set up your sandbox account through our guide.
To upload a document through E-Sign’s API you will need:
You will need to make a POST request to the endpoint https://${ENV}.e-sign.co.uk/v3/uploads, providing the parameters mentioned above.
Visit the full guide for uploading a document.
To create an envelope in its simplest form, certain minimum parameters must be included in the body of the request. These include providing a title for your envelope, specifying the title and ID of the document to be added, and the name and email of the signer.
It is important to note that you need to upload the document to our system before adding it to the envelope. See the ‘How to Upload a File’ guide in our Developer Hub if you’re unsure how to do this.
Visit the full guide to see how to generate your envelope.
To sign a document within an envelope, you will need the following information: the ID of the signer (signer_id) and the ID of the document (document_id) that is to be signed.
To sign a document, make a POST request to the following endpoint, including the signer_id and document_id:
POST https://${ENV}.e-sign.co.uk/v3/signers/${SIGNER_ID}/documents/${DOCUMENT_ID}
Replace ${SIGNER_ID} and ${DOCUMENT_ID} with the appropriate IDs of the signer and document, respectively.
Visit the full guide to learn how to sign a document.
The “Adding Fields to a Document Using an Iframe” feature allows you to embed an iframe within your application, giving you access to our web application. This enables you to add fields to your document and send your envelope without developing a custom interface.
Visit the full guide to learn more about adding fields to your document.
Did you know that you can track and receive updates on the status of an envelope once it has been created, completed, signed, or declined? By setting up webhooks, you can monitor these events in real time.
Our webhooks guide will take you through the process of creating, viewing, and deleting webhooks using E-Sign’s API.
The “One Click Send and Sign” feature allows users to view a document, enter their information, click a single button to sign, and complete the process—all in just one click.
Visit our full Click to Sign guide in the Developer Hub.
OAuth2 is a robust and flexible authorization framework that allows users to grant third-party applications limited access to their resources on the E-Sign platform without exposing their credentials.
By using the authorization code grant flow, OAuth2 enables secure, delegated access where users can authorize an application to act on their behalf, ensuring that the application only accesses what is necessary and within the permissions granted.
Learn everything you need to know about using OAuth, including creating an OAuth app and requesting user authorization, in our guide.